

What Are The Different Types of Dog Grooming Scissors?
Types of Shears: Straight, Curved, Thinning, Chunking
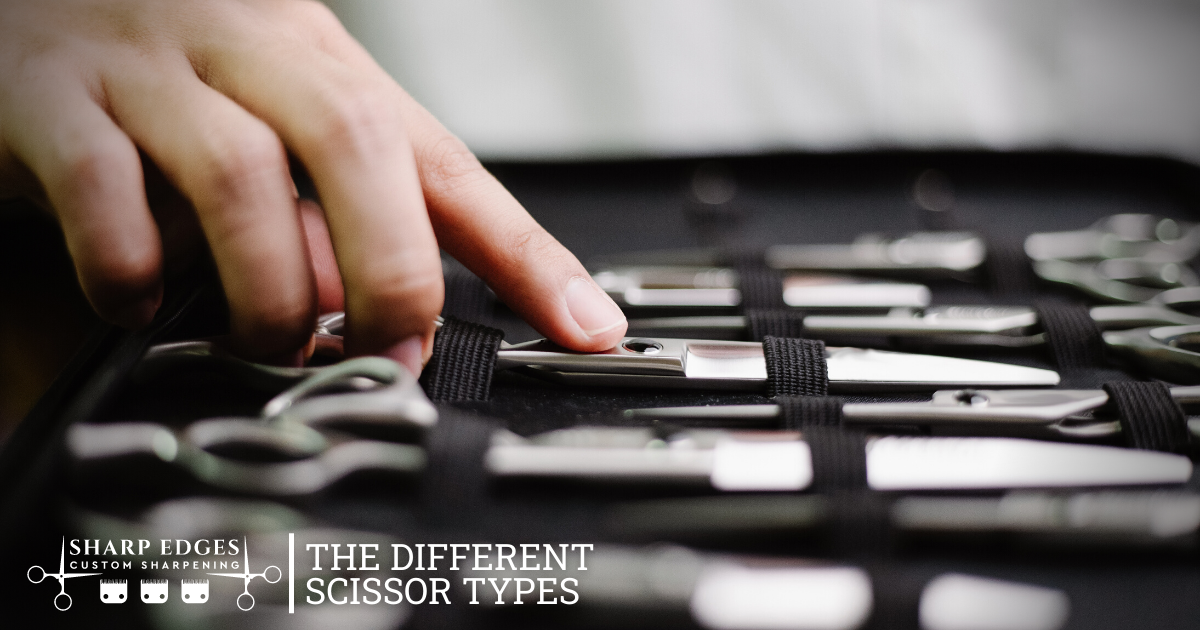
While retailers will hit you with the razzle dazzle of a dozen or more different types of shears, there are four prevalent styles in the dog grooming industry. These are standard straights, curves, chunkers, and thinners.
Let’s look at the features and learn the function!
Please note, if you are already a groomer, this information will likely be remedial to you. With the rising demand of DIY home grooming, new groomers who need more guidance on shears, and prospective future-groomers/bathers who are practicing at home, this guide is for you.
Straight Shears
Features
Variations
Serrated-Edge vs. Non-Serrated Edge
Length Variations
Special Considerations with Curves and Straights
Curved Shears
Toothed Shears and How they Cut
Chunkers
Chunkers will always have the least number of teeth in comparison to the other styles. These also will remove the most hair and leave the roughest look due to the unique spacing between the teeth. In cosmetology, these matrix chops are often referred to as “castle towers”.
The Sandpaper Analogy
I have no clue who started this brilliant analogy, but I saw it come up a few times in other grooming groups from various people.
With sandpaper, the higher the grit is, the less is removed from the surface you are sanding.
Higher grit also means a smoother finish. This is also the case with toothed shears.
The shears with more teeth are always going to remove the least amount of hair and leave the smoothest finish. This will typically be the thinning style shears with very fine teeth, typically v-notched.
Ball-Tip
A good pair of straight shears will be able to guide you through any grooming job you may have.
For this reason, you will often find non-professional grade pet-clippers and trimmers include a simple straight shear in the kit.
As a professional groomer, if I was told, “You can only groom today with ONE pair of shears. What will it be?”, my answer would always indubitably be my straight shears. While a perfect groom will be achieved by using various pairs of shears, I could easily put out quality grooms only using this one shear.
A straight shear features 2 straight cutting blades. This means they are consistently removing 100% of the hair they are cutting in a straight-line fashion.
If straight line removal is what you are aiming to remove (Such as on long fluffy legs or a crisp underline), these are an ideal pick.
If you are using straight shears to achieve a rounded appearance or look, this is also possible with a straight shear by taking in less hair in smaller snips and gently orbiting the area.
There are some curved parts of the dog that I prefer using a straight shear on, such as feet. I always tend to get my most perfectly rounded foot from a short, straight shear because I can sculpt the shape myself without the guidance of a curved shear defining my angles.
Every groomer is different, however, so it is important to find what works best for you. I advise always learning how to use your different shears to complete tasks as well just in case one is damaged, broken, or dull.
Common variations in straight shears include serrated edge, ball-tip, and various length variations.
If you are just starting out, I recommend a beveled edge ball-tip 6 inch and a beveled edge basic 7 inch as your straights.
Serration will be another feature that is heavily preference-based. I have sharpening clients who buy nice shears and say, “Please just remove the serration.” I have other clients who call me crying because a sharpener has just removed the serrations from their shears by accident.
So, what do the serrations do? By design serrations are meant to “grab” the hair. When you see the grooming videos that seem like not a single hair moves as the shears close and cut it away, the shears are likely serrated. The hair gets held by the tiny grooves and produces a very precise cut. Serrated edges yield minimal hair pushing and clean cuts.
While serrated edges are something you may choose to experiment with in the future, they are not necessary to own or use to achieve perfect grooms.
Ball-tip shears are highly encouraged for any professional bathers, new groomers, and pet parent performing DIY grooms.
The ball-tip is a safety feature. While injury to pets is possible with any sharp-edged tools, it is slightly minimized by having a blunt ball-tip to prevent jabs and serious eye puncturing injuries.
Be mindful, you should always be mindful of your cutting edge from base to tip to minimize risk.
Groomers I have trained have all started out with shears no longer than 7 inches.
Most injuries with shears are caused by something getting between the cutting edges that should not be there: skin flap, mole, dew claw, ear, tongue, lip, nipple. These sorts of accidents can happen at any level; this is the risk involved in using sharp objects on moving targets.
When learning how to control your shears from the base to the tips, it is advised to use 6”-7”. As you become more proficient, ease into the 8”, 9”, and 10” options on the market. While these can greatly cut down your grooming time, remain mindful of everything entering the cutting area from tip to base, and put extra care in areas such as dew claw areas, loose skin areas, eyes, ears, and muzzles.
Another way to greatly reduce cut accidents with shears is by NOT using them to cut through matting. If skin is trapped inside of the mat, you can land yourself a hefty vet bill. Shave the mats safely with your clipper and allow the pet to start fresh.
Most of the same features, function, and variations mentioned above will also cover curved shears (buy here).
The edges will remove 100% of hair that is between the cutting blades, they can be ball-tip or standard, they can be convex or beveled, they can be serrated or non-serrated, and they have a range of available lengths.
Curves also have the same safety considerations regarding length as well. For curves, I recommend starting out with a 6.5”-7” pair with ball tip and one without. Be mindful, not every curved area will be ideal for a curved shear, but they are extremely favorable for poodle furnishings (rosettes, poms, and topknots), ears, muzzles, tails, and feet.
These preferences will greatly vary depending on who you ask. The preferences will also vary on one undiscussed variant: curvature degree.
Many groomers will have a pair of curves they love, so they just use that shear on everything.
This can be extremely fatiguing to your hands. Much like using a straight shear to make round edges requires smaller cuts, this goes the same for using a curved shear down a straight fluffed column leg.
Minimize your risk of overuse injuries and carpal tunnel by choosing the correct shear for each part of the groom.
Also, be mindful, use of any shear to remove hair on paw pads is risky. This is such a huge risk, many salons have safety policies prohibiting it. It is a good practice to only trim hair from paw pads with a clipper.
Piano-Tooth Fluffers
have more teeth than a chunker, but less than a thinner. The teeth have a smooth surface like chunker teeth, and due to the minimal spacing between the teeth, the hair removal is rapid and has an acceptably smooth finish. These shears are very good for wiggly dogs where every cut counts. These will not leave a harsh line, and they will remove hair quickly when you get into an ideal position to make a cut.
Thinning Dog Grooming Scissors
A thinning scissor are a type of scissor that has teeth on one blade. They are used to thin out the dog's coat, making it easier to manage. Thinning shears are ideal for dogs with thick, heavy coats that require regular grooming. They can also be used to blend different lengths of hair.
Tooth Style
Understanding the style of teeth on the shears you are using will help you imagine what the hair removal will be like. When the sharpener had told me thinners catch hair, I was thinking about that wrong. I pictured how serrations catch hair.
The v-notch is more like a guillotine. Hair gets settled down in that notch, and as the cutting edge of the shears closed, the trapped hair is sliced off. V-Notched thinning shears have many uses in the grooming industry.
When I was initially trained, we were taught that thinning shears were just like an eraser to get rid of any harsh lines we made. Their use has greatly expanded over the years since my initial training. The many different variations and styles (single teeth side or true thinners with double teeth side) are now used for removal of harsh lines, finishing work, texturizing, volume addition, and enhancing natural looking finishes.
Where a non-toothed shear will give perfected, hyper-defined edges, a thinning shear can be used to soften edges and give a natural-looking finish. Additionally, I have seen so many yorkies and westies with unfortunate cowlicks that make the top of their heads sit so flat.
Lifting the hair and doing a couple of swipes with thinning shears about half an inch down can add the illusion of more volume. (Yes, I totally stole this tip from a cosmetology friend years ago who used this technique to enhance volume on little old ladies’ hair. Don’t judge me! I thought it could work, so I tested it on my flat head westie, and it worked like a charm.)
Smooth teeth like chunkers and piano tooth shears are going to allow hair to push as the shears are closed but will cut a decent amount as well. If the teeth are serrated, more hair will stick on the teeth and cut so that will increase removal a bit too.
There are many types of teeth on the market. Some are for function, some are for looks, some will change the industry. In any case, many of these toothed-shear options are available in straight and curved styles.
Use the previous information on straights and curves to decide which will be best for your needs. Hopefully this article will help you better visualize what each style of shear will cut like. You can also attend trade shows where usually, vendors offer test hair and you can see how each shear cuts so you know exactly what you would want to use them on.
No matter what shears you are using, it is important to clean, oil, and store them when not in use to prolong their life. Also, having them sharpened routinely will help you avoid hand injuries and pet injuries.
Many people have the misconception that freshly sharpened tools are more dangerous. In reality, many scissor incidents are caused by groomers who are already used to applying extra force since their tools are dull.
This extra force forces the cutting edges through hair, but it can also force right through skin. If you are unsure how frequently you should be getting them serviced, just ask. This will all be determined by frequency of usage, tool quality, storage, and care.
Also, contact your sharpener if you suspect shears are damaged from dropping. Continuing use with damage can worsen the issues and lead to hefty repairs down the road.
Jessica Clark
With a passion for writing and supporting fellow groomers, Jessica stands ready to answer queries. Drawing from her extensive grooming experience, she's always eager to recommend the best tools for various coat types. A proud retailer of GSH (previously known as GEM) products, Jessica champions their high-quality and affordability.