Shop Products                                 Shop Services   

How to Sharpen Your Clipper Blades


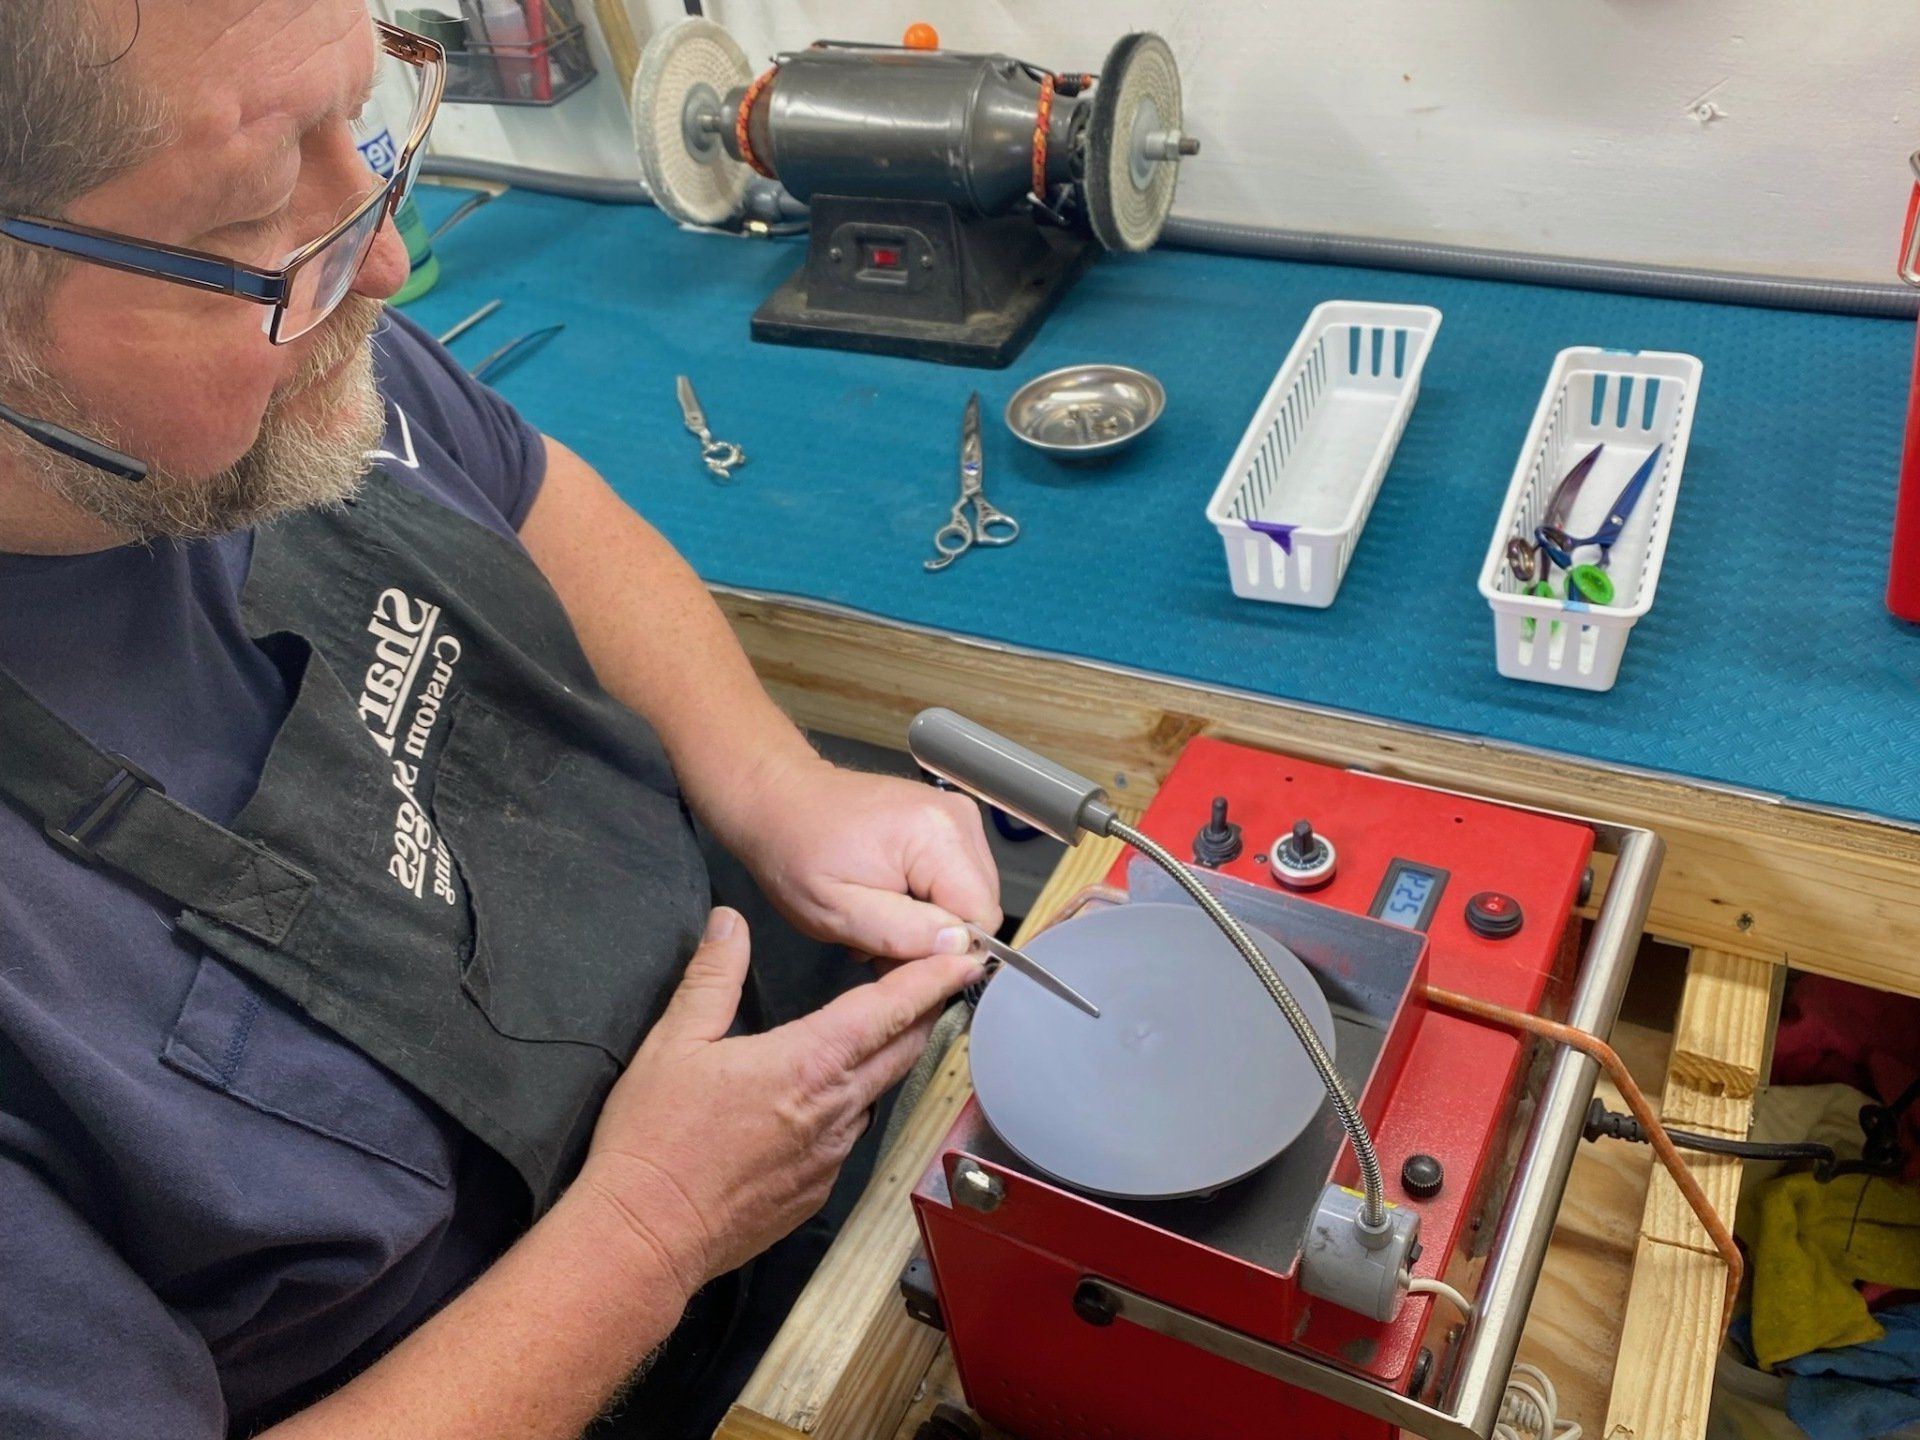
For dedicated pet and livestock groomers, the sharpness of clipper blades is paramount. A dull blade can result in uneven trims, potential discomfort for the animal, and even increased grooming time.


In this guide, we delve into the essential steps for maintaining blade sharpness, allowing groomers to continue providing optimal comfort and aesthetics for every furry or feathered client they serve.


Video Walkthrough


Disassemble your clipper, then prepare the two blades for sharpening

Step 1


  1. First, use your screwdriver to unfasten the screws keeping the assembly together.

Step 2


  1. Place the spring assembly in a secure area where you can keep an eye on them. Make sure you don’t lose them.

Step 3


  1. Wipe the cutter blade and comb blade with a clean cloth to remove any debris/residue that may get in the way of sharpening.

Sharpen Your Clipper Blades Using A Clipper Blade Hone

Step 4


  1. Grab your magnet and put it on top of your blade.


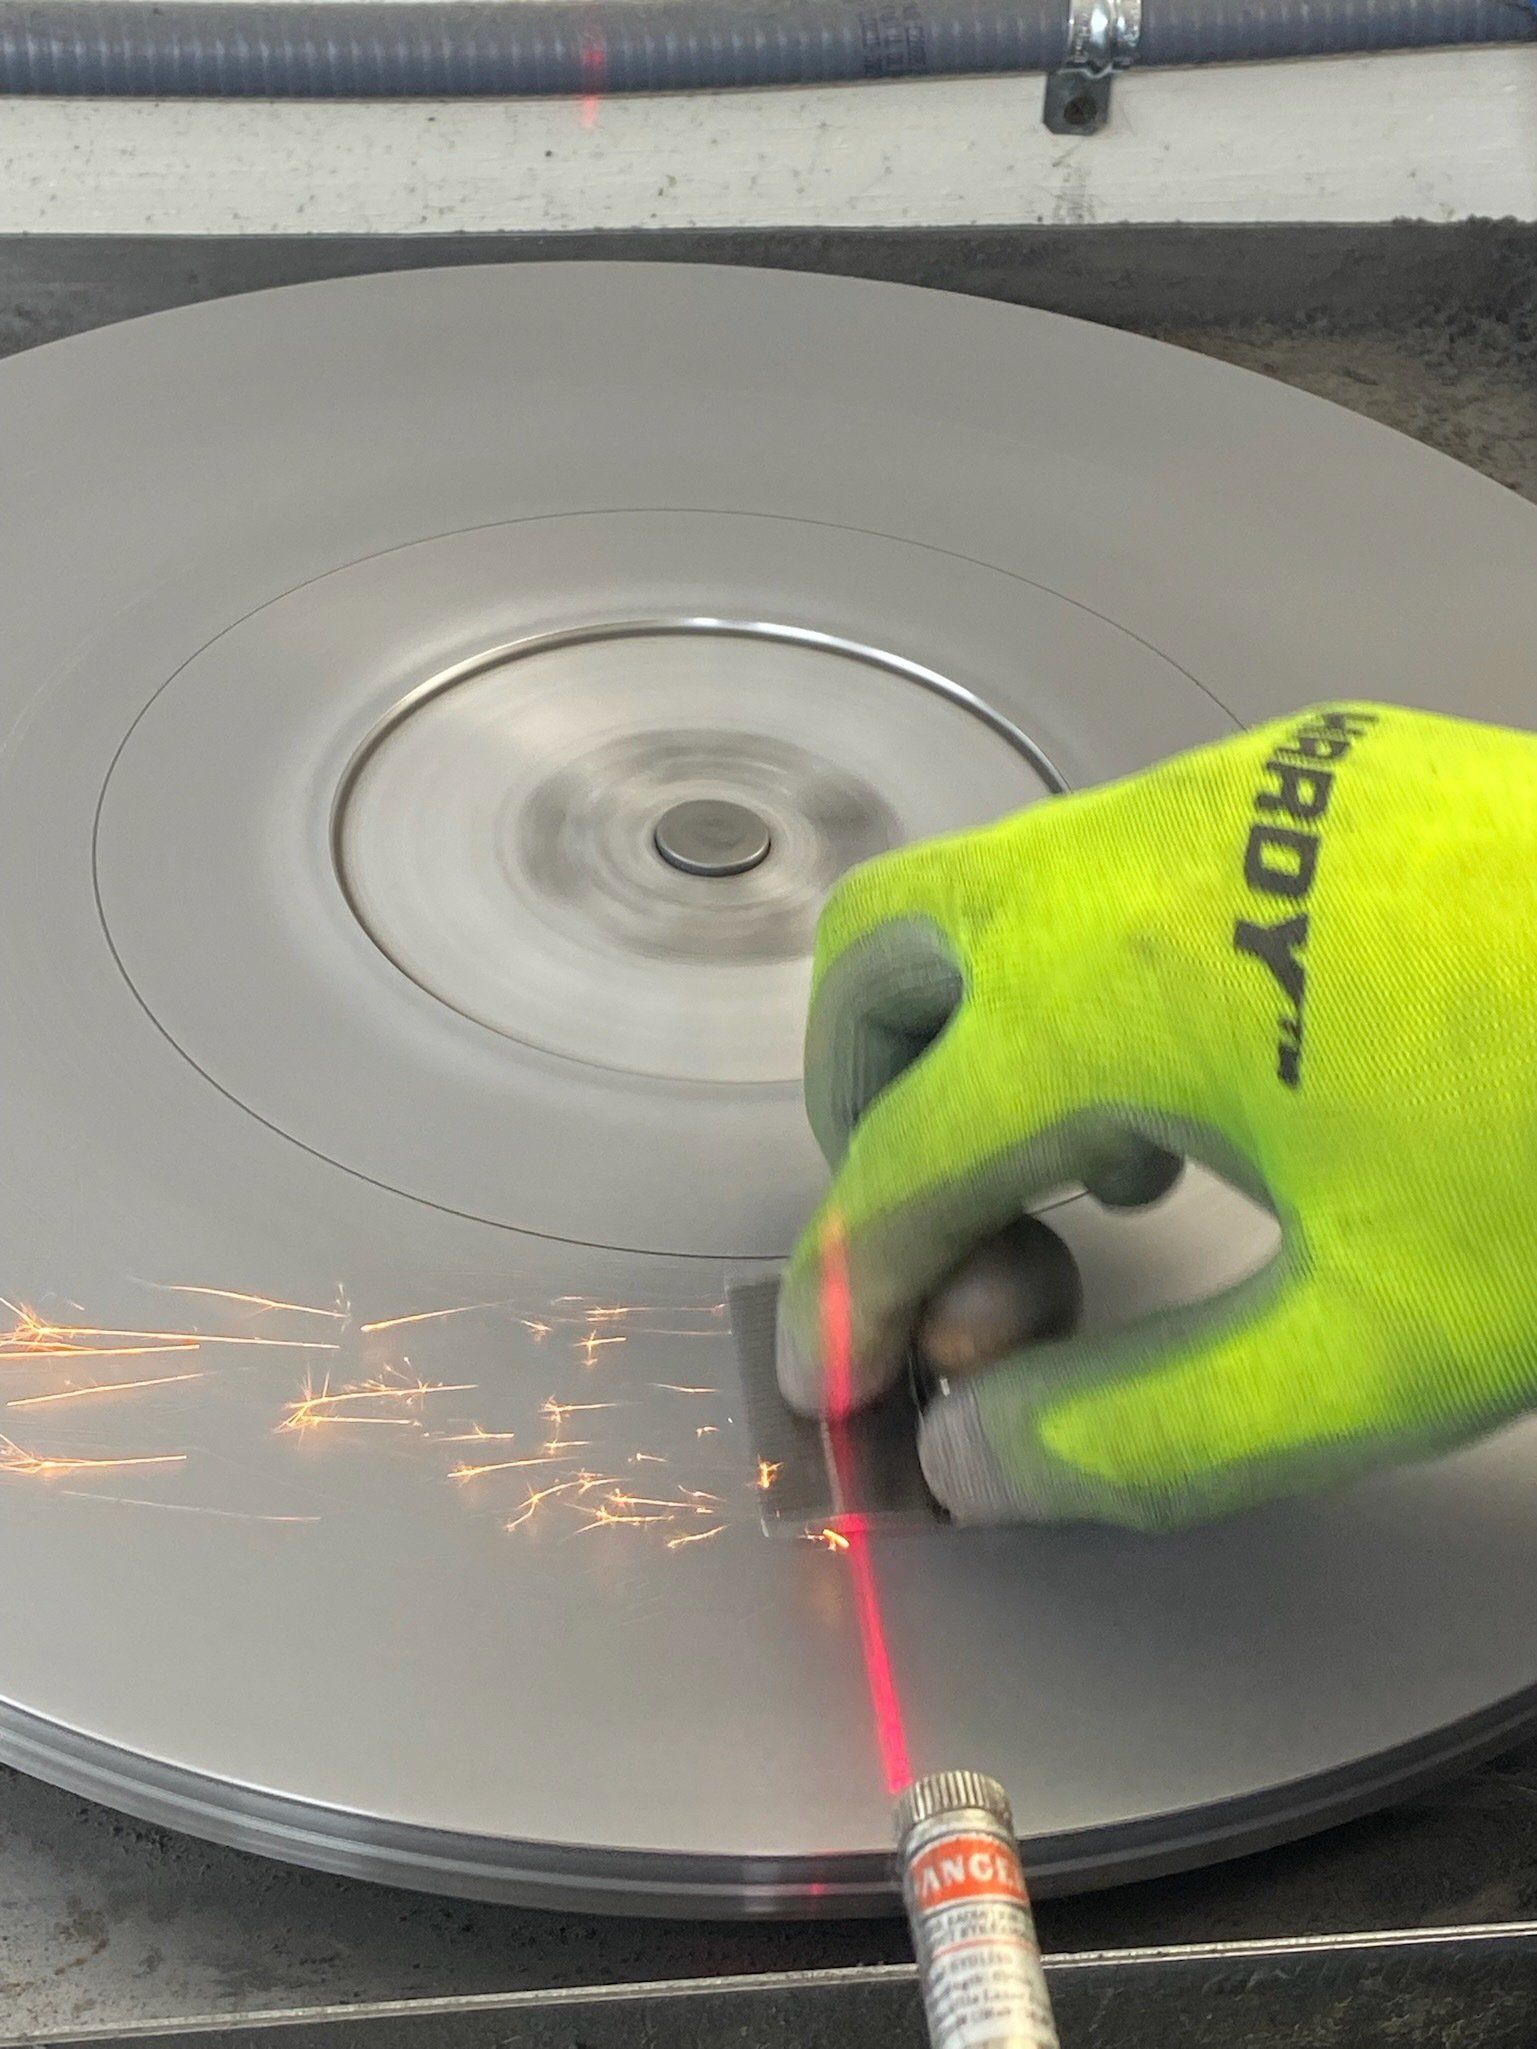
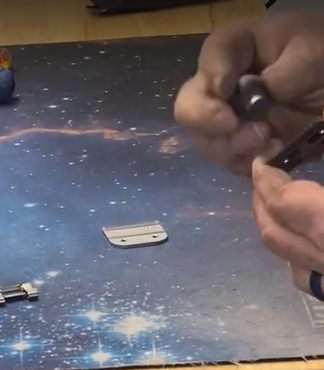
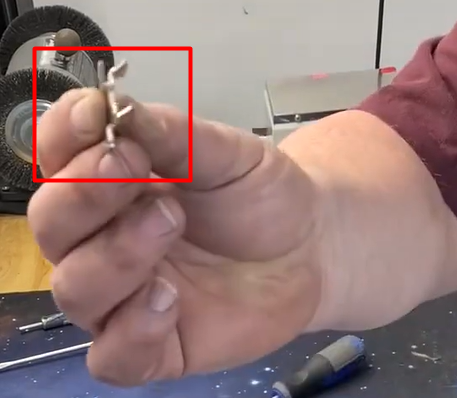
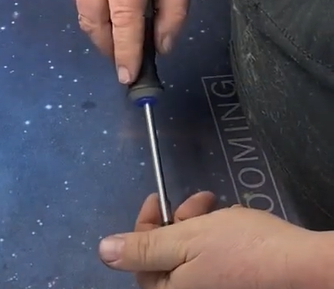
Top Tip: The magnet will act as a handle for better grip, and it makes sharpening safer. 

Step 5


  1. Turn your Clipper Blade Hone on, as well as the laser guide to keep you centered.

Step 6


  1. Starting near the center of the wheel, carefully slide the blade outward back and forth while keeping the edge of the blade perpendicular to the laser light.

  2. Do this until you get the desired hollow ground before proceeding to the other blade.

Clean Your Clipper Blades After Sharpening

Step 7


  1. Clean your clipper blades with your choice of cleaning solution, then run the teeth through a wire brush to remove burrs that form during the sharpening process.

Reassemble and Oil Your Clipper Blades After Sharpening

Step 8


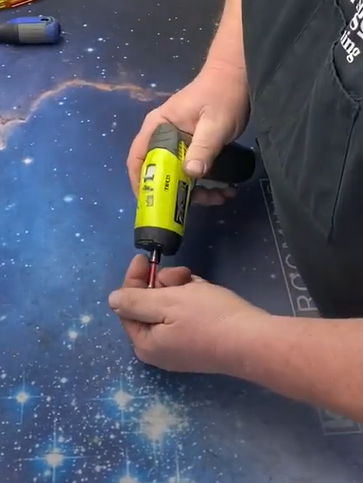
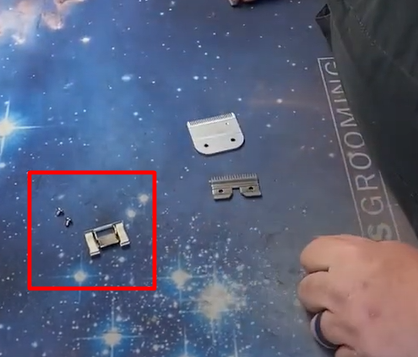
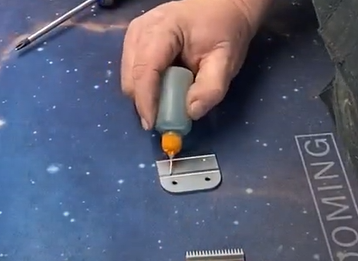
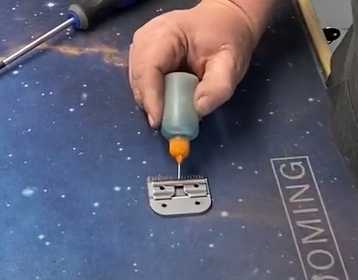
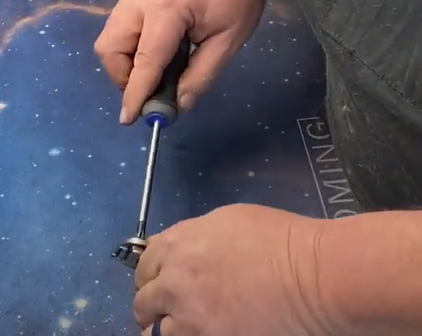
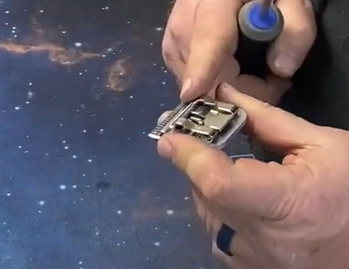
To assemble your clipper blade:


  1. Take a hold of your socket and spring then insert the spring back in the socket before putting it aside.

Step 9


  1. Apply a few drops of clipper oil on the back rail and front rail of the comb blade before putting the cutter blade on top.

Step 10


  1. Squeeze a drop of oil on top of the cutter blade for the blade guide.

Step 11


  1. Put the spring assembly on top of the blades, pinch them together, and flip them.

Step 12


  1. Insert the screw back in there one by one. Screw them down tightly then back them off a quarter turn, enough to hold them together but still allows room for adjusting the blades.

Step 13


  1. The cutter blade should be about 1-2 credit card thicknesses away from the edge of the comb blade.

Step 14


  1. Then tighten the screws down

Step 15


  1. Push your blade scale against the side of the cutter blade to measure its tension.

Clipper Blade Sharpening

We are here for all of your Clipper Blade Sharpening and your mail in sharpening needs


Jessie Jaggers


Growing up in a family-run grooming business, Jessie Jaggers saw firsthand the need for reliable tool sharpening.


In 2017, he launched Sharp Edges, emphasizing quality tools and top-tier materials.


With a commitment to fast delivery and top-notch service, Jessie ensures that every Sharp Edges product meets the highest standards, reflecting his passion for excellence in the grooming industry.


With Jessie at the helm, customers can trust in the expertise and dedication of Sharp Edges.

Share by: