

How to Reassemble Your GSH Shear
Diving into the essentials: Here's your step-by-step guide on how to seamlessly reassemble your GSH Shear.
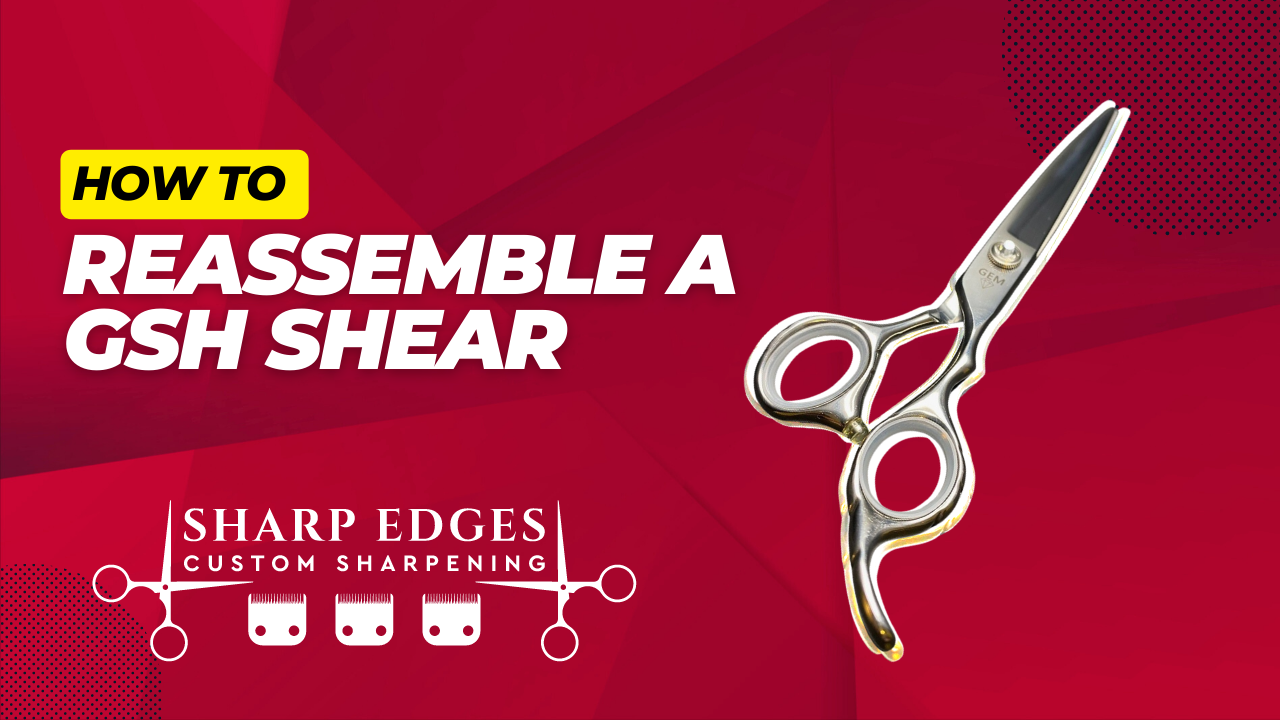
How to reassemble a GSH Shear - Walkthrough Video
If for some reason your GSH shear ever comes apart while you are cleaning it then this short guide will definitely help you out!
Step 1: Identify important parts of your GSH Shear
Make sure you are not missing a crucial part of your GSH shear or else it won’t function properly.
The GSH Shear is consist of:
- The two blades
- A dial
- A clicker plate
- A post
- A ball bearing
Step 2: How to assemble your GSH Shear
Pick up the blade that has the round hole.
Make sure the side that makes contact with the other blade faces down.
You will then insert the ball bearing first before the post.
Once you have inserted the post, flip the blade to face you and attached the other blade.
Keep the shear open so it forms a V-shape. Pick up the clicker plate, make sure the nibs are facing up, and insert it inside.
Align the nibs to the edge of the square formed by opening your shear to a V-shape.
Take your dial then screw it back on.
Step 3: Test your shear to make sure they are cutting properly
Bring out a piece of paper and get a feel for how your shear cuts it. Adjust the dial if it is too tight or too loose.
Ultimately, I hope this helps!

GSH Classic Grooming Shears

Jessie Jaggers
Growing up in a family-run grooming business, Jessie Jaggers saw firsthand the need for reliable tool sharpening.
In 2017, he launched Sharp Edges, emphasizing quality tools and top-tier materials.
With a commitment to fast delivery and top-notch service, Jessie ensures that every Sharp Edges product meets the highest standards, reflecting his passion for excellence in the grooming industry.
With Jessie at the helm, customers can trust in the expertise and dedication of Sharp Edges.